Yep. I said it. Canning pears without having to make syrup seems like a big step you skip, but it saves a ton of time and makes preserving your pears that much simpler!

My Grandma’s Secret
My grandma on my dad’s side taught my mom that making syrup wasn’t necessary. Ever since my mom has canned pears like this. It is easy and much less sticky without making the syrup. The pears still taste terrific. You would never know the difference!
My grandma used to use 1/2 cup of sugar. I didn’t think much sugar was needed, so I halved it. With all the sugar we ingest, I felt less sugar was something that needed to be done. The pears are still sweet and yummy! This makes eating the canned pears much better without worrying about that extra sugar intake.
Pears
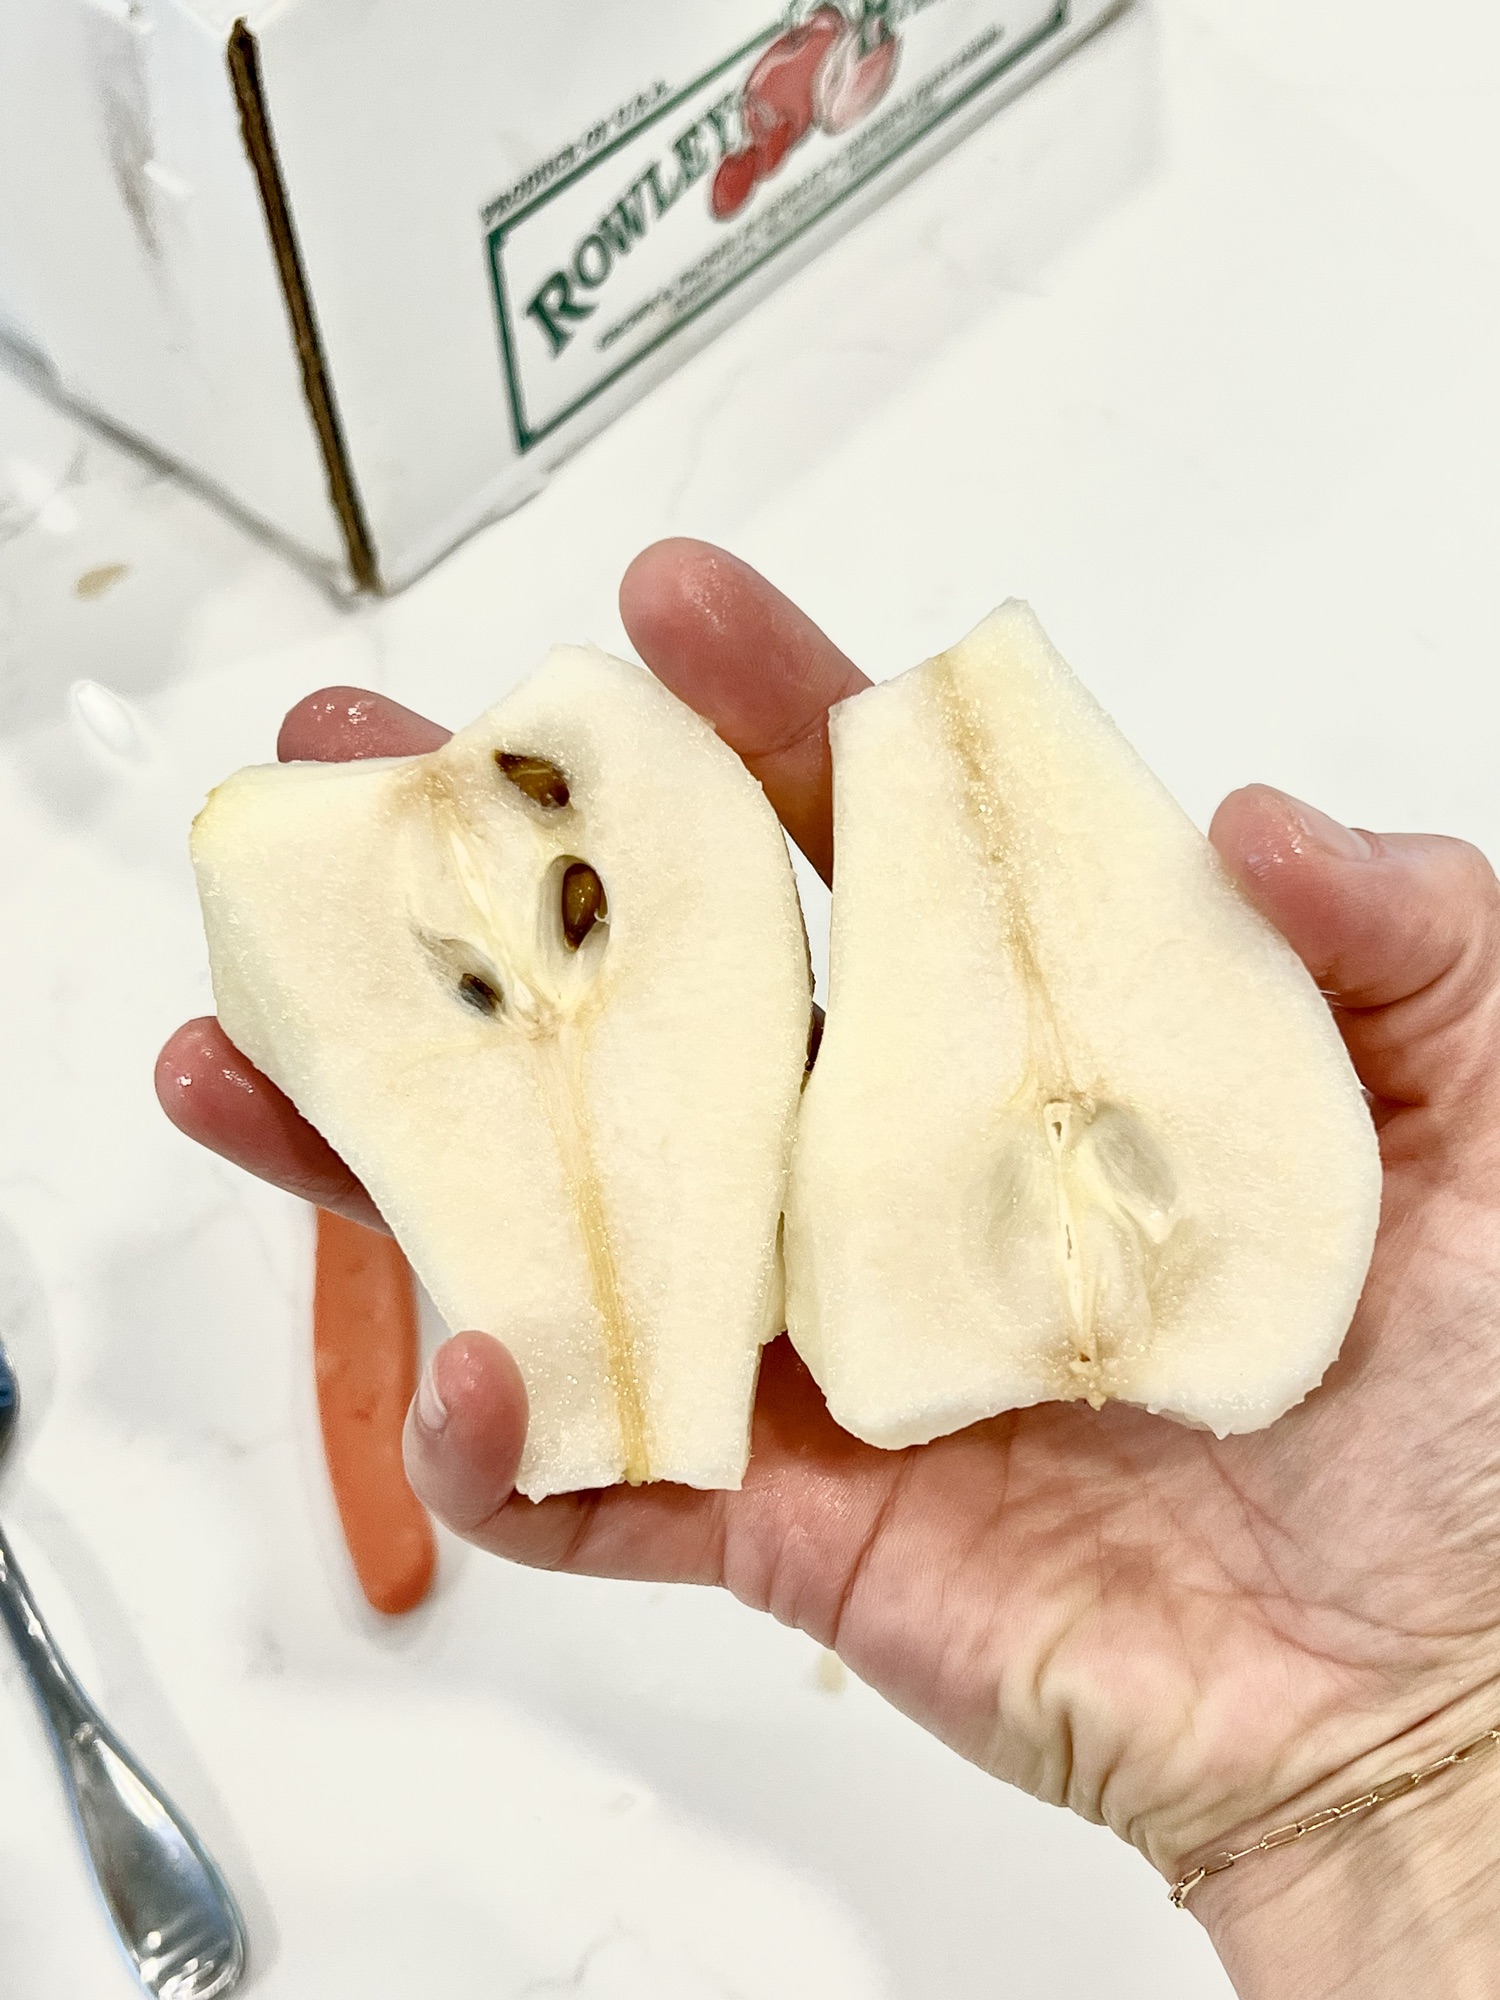
We always use Bartlett pears. I have used Bosc pears to can, but I didn’t love them. We get at least one 20-pound box of pears that are green/yellow. There is a perfect time to start preserving your pears when the pears are yellow but not overly ripe. You don’t want them to be mushy. You can tell if the pear is over-ripe and starting to go bad when you cut it open, and the middle is light brown. These last pears I bought were already pretty ripe and beginning to get brown spots on the skin. They preserved amazingly, but they were on their last leg.

The Preserving Process
To start, I get the water going for the water bath and get the lids in boiling water. Once the cans are in the water, you will want about an inch of water over the cans. So take out or add water if necessary.
Boil your lids to sanitize and make the seal a little sticky so it sticks to the rim of the jar.

I cut the ends off, peel, halve, and core the pears. I peeled them with a potato peeler or a paring knife—either works great! I cored the pears with a spoon.


I put them in a large bowl as I finish each pear. The pears will discolor a bit, but as long as you put them in the jars with the sugar and water and boil them, the ugly coloring will go away.
If you have a few extra hands (little hands are great for this job), you can have your little ones stuff the jars with the pears as you peel, cut, and core them.
Either way, you want to stuff the pears core side down. It makes the pears look neat and pretty inside the jar.

I then put 1/4 cup sugar in each quart, wide-mouth jar….yep, right in the jar! I use wide-mouth jars for pears because it makes it easier to stick my hand in and get the pears to lay pretty. If the little ones are helping, you can get by using regular mouth jars. If using regular mouth jars, quarter your pears. It will make it easier to stuff through the small opening.

Preparing the Jars for the Water Bath
I then place the pear’s core side down in the jar. I fill it with cold water to just cover the pears, but all the pears need to be covered.

Wipe with a wet cloth to get all the sticky pear juice and granulated sugar off the rim of the pears.


Then, I place the jars in the water bath. I keep them in there for a half hour at a rolling boil. When you put them in the water bath, the water will stop boiling. Do not start the 30-minute timer until the water bath is back to a rolling boil.

I then take them out and listen for the lids to pop and seal. This is THE best part of the preserving process. The popping sound is like a pat on the back for all your hard work. Some cans will pop immediately, some after an hour, and some after 24 hours. But if the top doesn’t suck down, you will want to put that can in the fridge and eat it fresh.
Let cool on a towel, then store.

Another Secret
Before you eat your pears, please put them in the fridge… they are so much better chilled! I love to “pear” (see what I did there) with a roasted chicken or Sunday pot roast. They add just enough sweet to a savory dish.
Supplies You’ll Need
Wide Mouth Canning Jars (a 20 lb. box of pears produces about 8-10 jars of pears)

